


A smart home security system helps protect your home and family. You can watch cameras, check doors, and get alerts—all from your phone. Installing one sounds tricky, but it’s not. You don’t need to hire anyone. You can do it yourself with a little time and the right tools.
This guide will walk you through the whole process. Step by step. No stress.
What You’ll Need
Before you start, make sure you have these items:
- Your smart security kit (cameras, sensors, hub, etc.)
- A smartphone or tablet
- Wi-Fi with a good signal
- A screwdriver or drill (for wall mounts)
- A ladder (for outdoor cameras)
Step 1: Plan Where to Place Devices
Don’t guess. Make a plan. Walk around your house and decide what areas need coverage.
Focus on:
- Front door
- Back door
- Garage entry
- Main hallway
- Large windows
- Yard or driveway
Avoid placing cameras behind glass or near strong lights. Reflections can block the view.
Sketch a quick layout on paper. This helps later when you install.
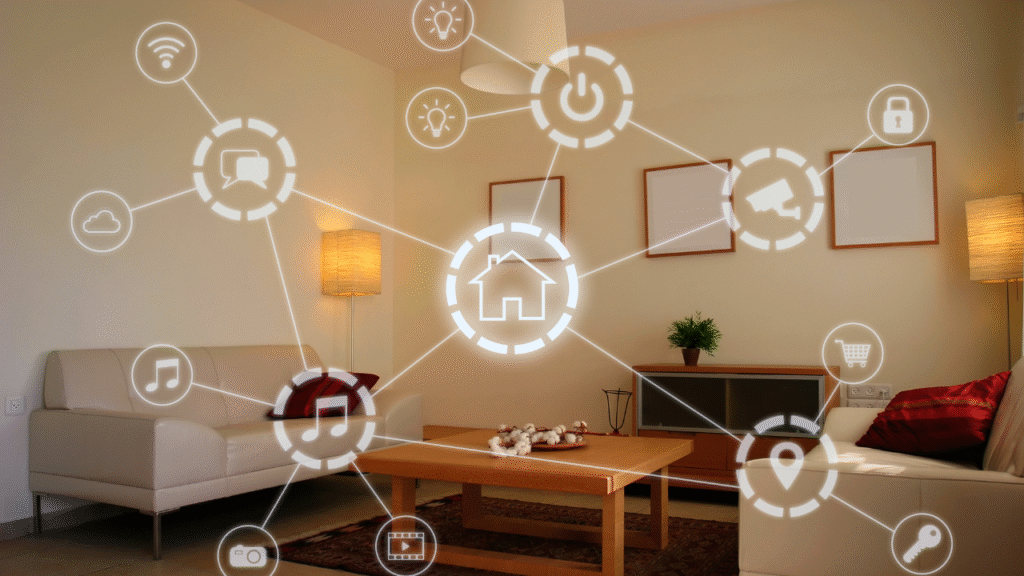
Step 2: Set Up the Hub or Base Station
Most smart security systems come with a hub or base station. This connects all your devices together.
Place it in a central spot in your home. Keep it close to your router for a strong Wi-Fi signal.
Then:
- Plug in the hub.
- Connect it to your router if needed.
- Follow the app instructions to complete setup.
- Name your system or location.
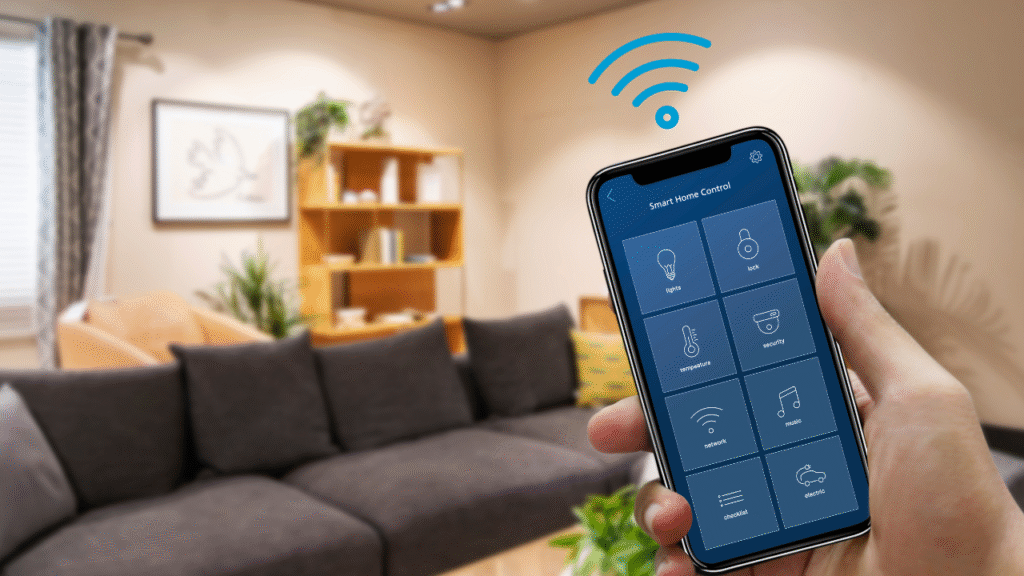
Step 3: Install the Mobile App
Your phone controls the system. Download the brand’s app from the App Store or Google Play.
After download:
- Create an account
- Log in
- Pair the app with your hub
- Enable push notifications
The app lets you view video, get alerts, and control settings from anywhere.
Step 4: Add and Test Sensors
Your system may come with door and window sensors. These send alerts when something opens.
To install:
- Clean the surface with a dry cloth.
- Peel and stick the sensor and magnet.
- Make sure the pieces line up when the door is closed.
- Test by opening the door or window.
The app should send a message or beep when it works.
Use the app to name each sensor. For example: “Front Door” or “Living Room Window.”
Step 5: Set Up Motion Detectors
Motion sensors detect movement in a room. Place them in areas people walk through.
Good spots include:
- Hallways
- Entryways
- Large open rooms
Mount them about 6-8 feet off the ground. Point them across the room, not at windows.
Steps:
- Mount the sensor using screws or adhesive.
- Connect it through the app.
- Walk by to test the response.
- Adjust angle if needed.
Don’t aim motion sensors at pets or fans—they may trigger false alarms.
Step 6: Install Cameras
Now set up your indoor and outdoor cameras.
For indoor cameras:
- Place on a shelf or mount on the wall.
- Avoid aiming at windows.
- Use a wide view to cover whole rooms.
- Plug into a power outlet if not battery-powered.
- Use the app to connect and name the camera.
For outdoor cameras:
- Mount 8-10 feet high.
- Face doors, gates, or driveways.
- Use waterproof models.
- Check Wi-Fi range before final placement.
- Make sure cables or solar panels are secure.
After installation, test the camera view in the app. Adjust if needed.
Step 7: Set Up Alarms and Sirens
Many systems come with alarms or sirens. These make noise when a break-in is detected.
Install them near:
- Entry doors
- Living room or hallway
- Garage
Mount them high on the wall. Connect them to your system through the app.
Check volume settings. Make sure it’s loud enough to hear across the house.
Step 8: Create User Access
Give access to family members. In the app, you can invite users with their email or phone number.
Set their permissions
- Full access
- Guest access
- Limited controls (for kids)
Make sure everyone knows how to arm and disarm the system.
Step 9: Set Routines and Alerts
Use the app to customize how the system works. Common settings include:
- Auto arm at night
- Disarm when you come home
- Alert if a door is open too long
- Send clips when motion is detected
Turn on mobile alerts so you never miss a warning. You can also link the system with smart lights or voice assistants.
Step 10: Test Everything
Do a full test before calling it done.
- Open every door and window
- Walk in front of motion sensors
- Trigger the siren (then turn it off)
- Check each camera feed
- Arm and disarm the system
If something doesn’t work, double-check the app or redo the setup step.
Better to find problems now than during a real emergency.
Extra Tips
- Keep your app and system updated.
- Use strong passwords for your account.
- Place warning stickers on windows or doors.
- Replace batteries when needed.
- Don’t ignore alerts—check them right away.
You may also want to back up camera clips to the cloud or a hard drive.
Should You Use Professional Monitoring?
Some systems offer 24/7 monitoring for a fee. This means a service watches your home and can call the police.
You don’t need it, but it adds peace of mind. Some plans cost as little as $10–$30 per month.
Check if your system offers this option.
Final Check
Before wrapping up, go over this quick list:
- ✅ All devices are installed and tested
- ✅ App is working on all phones
- ✅ Wi-Fi is strong throughout the house
- ✅ Notifications are turned on
- ✅ System is armed when needed
- ✅ Everyone knows how to use it
Once you’ve done all this, your smart security system is good to go.
Conclusion
Installing a smart home security system doesn’t need to be hard. Start with a good kit. Follow simple steps. Use your phone to guide you.
Once set up, your home will feel safer. You’ll know what’s going on—even when you’re not there. Just take it one step at a time. You’ll have it done in no time.