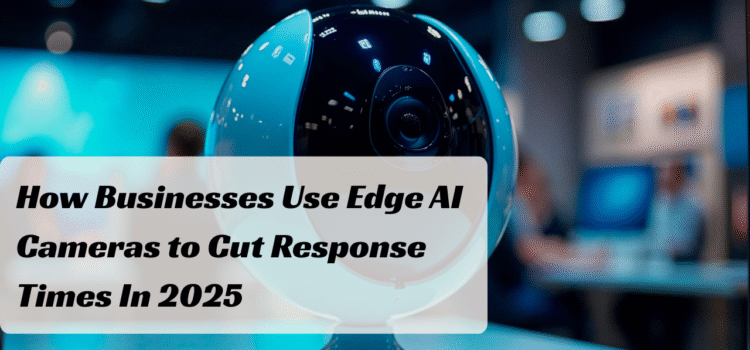


In 2025, many businesses no longer accept the delay. They now use AI cameras for access control because these systems react while things are still happening. That one change alone has reshaped how buildings are protected.
Why CCTV Started Falling Behind
CCTV systems depend heavily on people. Someone must watch screens. Someone must notice small details. Someone must decide if something matters. That sounds fine in theory. In practice, it rarely works that cleanly. Guards get tired. Shifts get long. Screens blur together. A door opens, someone slips in, and no one realizes it until later. When access control depends on human attention alone, mistakes happen often.This became harder as offices grew larger and busier.
AI Cameras Took Over the Watching
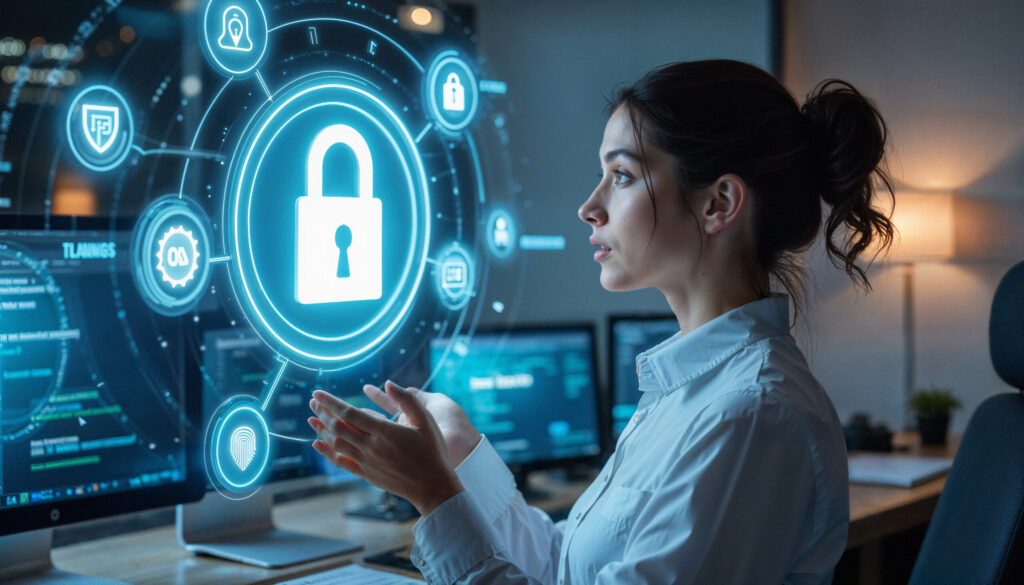
AI cameras don’t just record video. They pay attention all the time. They look at faces, movement, and patterns as people enter a space. If an entry looks normal, nothing happens. If it doesn’t, the system reacts. Alerts go out right away. No one has to rewind footage or guess what they saw. That speed changed access control from something passive into something active.
Daily Entry Became Faster
Morning rush used to be messy in many buildings. Employees waited at doors. Cards failed. Visitors stood in the wrong line. AI cameras removed much of that friction. Approved staff walk in without stopping. Entry is logged automatically. Doors open without checks or delays. It feels small at first. But saving seconds every day adds up quickly.
AI Stopping the Quiet Access Issues
Many access problems are subtle. Someone follows another person inside. A badge gets shared. A side door stays open longer than it should. CCTV often misses these moments. AI cameras don’t. When an unknown face enters or someone moves into a restricted area, the system flags it. Security teams know right away. They don’t need to guess what happened. This early warning prevents many issues from growing.
Busy Buildings Needed AI Control
Offices, clinics, and shared buildings deal with constant movement. Staff, guests, and vendors all pass through the same spaces. AI cameras help sort that flow. Staff move freely. Visitors are noticed early. Restricted zones stay protected without slowing everyone else down. Access control becomes quieter and smoother, which most people appreciate.
Manual Logs Became a Problem
Manual entry logs create errors. Names get skipped. Times are wrong. Badges are forgotten or shared. AI cameras remove that mess. Every entry is logged automatically. Time and location are recorded without effort. This makes reviews easier and avoids awkward questions later.
When Something Goes Wrong,AI Response Is Faster
If a security issue starts, alerts reach the right people fast. Phones buzz. Screens light up. Teams know where to go. There’s no delay trying to understand what happened. The system shows it clearly. That speed helps resolve issues before they turn serious.
AI Manage More Than One Site Easily
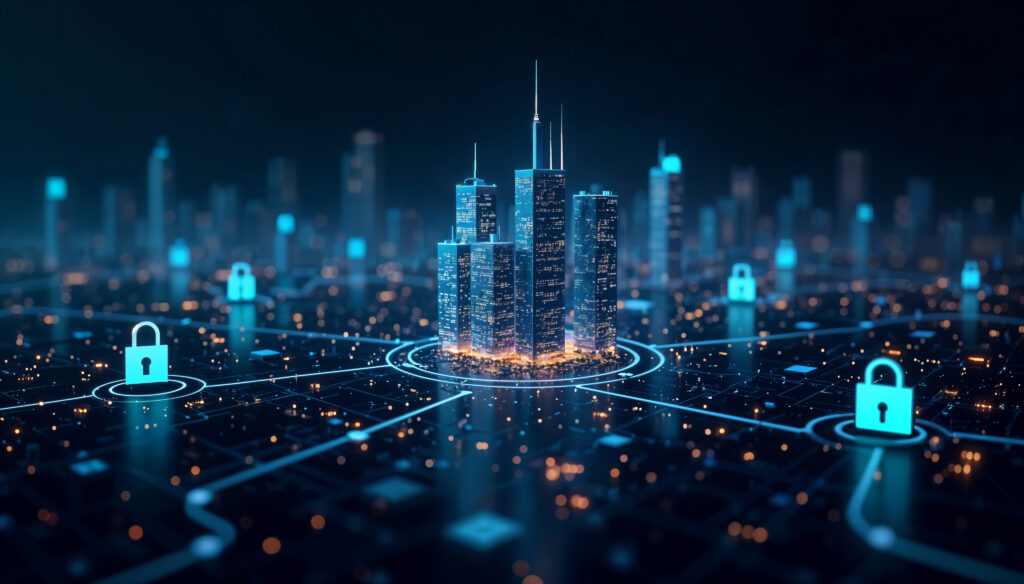
Many businesses don’t run just one building anymore. They manage offices, warehouses, or stores across different places. With AI-based access control, managers can see activity from anywhere. Alerts don’t stop just because someone isn’t on-site. This made remote oversight far more practical in 2025.
Fewer Keys, Fewer Cards
Physical keys and cards caused constant problems. They got lost. They got shared. Replacing them cost time. AI cameras reduced the need for them. Access became tied to identity instead of objects. When someone leaves a company, access can be removed instantly. That closed many security gaps.
Looking Back Takes Less Time
When reviews are needed, AI systems help. Teams search entries by face, door, or time. The right clip shows up quickly. This saves hours and reduces frustration.
AI Provide Growth Without Extra Trouble
As companies grow, they add doors and entry points. Older systems struggled with this. AI camera systems handle growth better. New cameras work independently. Performance stays steady even as buildings expand.
Why the Shift Became Normal in 2025
The move away from CCTV wasn’t about trends. It was about solving everyday problems. Businesses wanted faster entry, fewer mistakes, and better control. AI cameras delivered that without adding extra work. By 2025, this shift felt natural.
Final Thoughts
Access control used to be about watching doors. Now it’s about understanding who is entering and acting at the right moment. AI cameras made that possible. They reduced delays, improved safety, and simplified daily operations. For many businesses, moving on from CCTV was not optional. It was simply the better way to work.