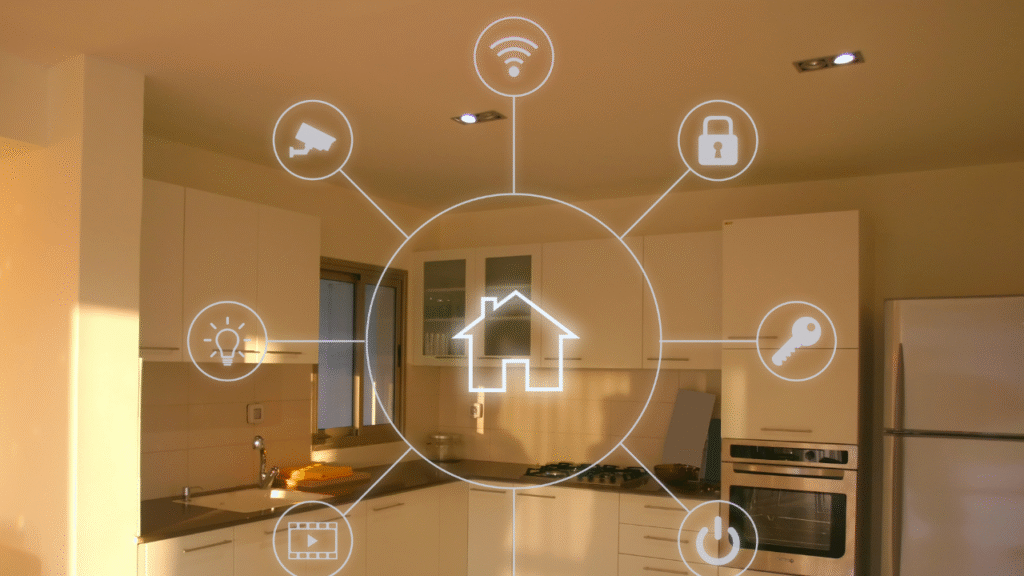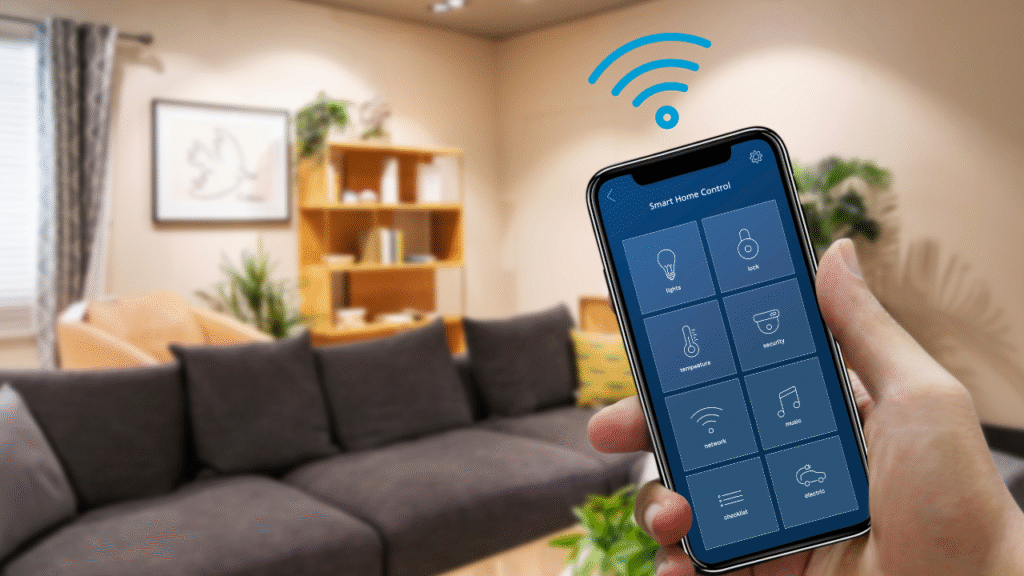


Smart homes are built one device at a time. Cameras watch your space. Locks keep doors secure. Lights give you safety and comfort. When these tools work together, your home gets smarter—and safer. But setting them up can feel confusing. Don’t worry. You don’t need to be a tech expert. You just need to follow the right steps. Here’s how to connect smart cameras, locks, and lights into one working system.
Step 1: Start with a Smart Hub or App
Before connecting devices, you need a place to control them. This is usually done with:
- A smart home hub (like Alexa, Google Nest Hub, or Apple HomePod)
- A smartphone app (like SmartThings or HomeKit)
Pick a hub or app that supports all your devices. Some devices work better with certain systems. For example:
- Alexa works with many brands
- Google Home is good with Nest and Philips Hue
- Apple HomeKit is safer but works with fewer devices
Check your devices’ boxes or websites for “works with” info.
Step 2: Set Up Your Wi-Fi
These devices need a strong internet connection.
Use these tips:
- Place your router in a central spot
- Use a strong password
- Use the 2.4GHz band if your device asks (many smart tools prefer it)
- Keep your Wi-Fi name simple—no symbols
Make sure each device has a good signal. If needed, use a Wi-Fi extender.
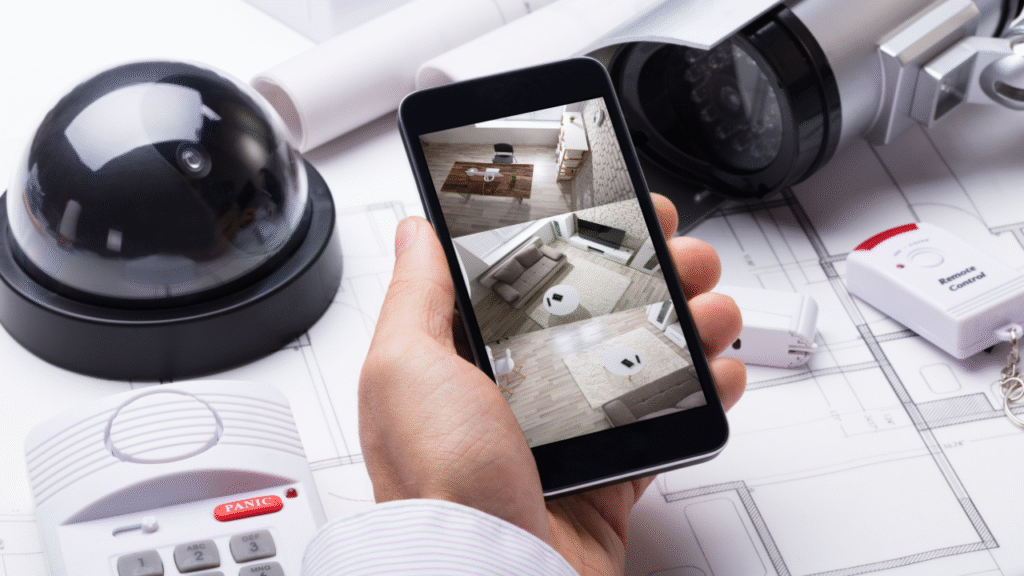
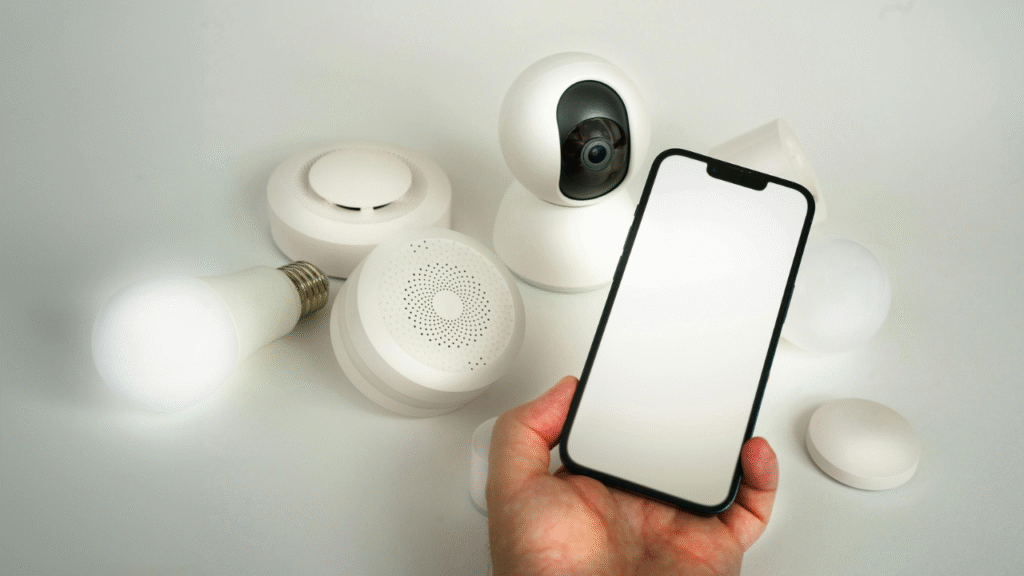
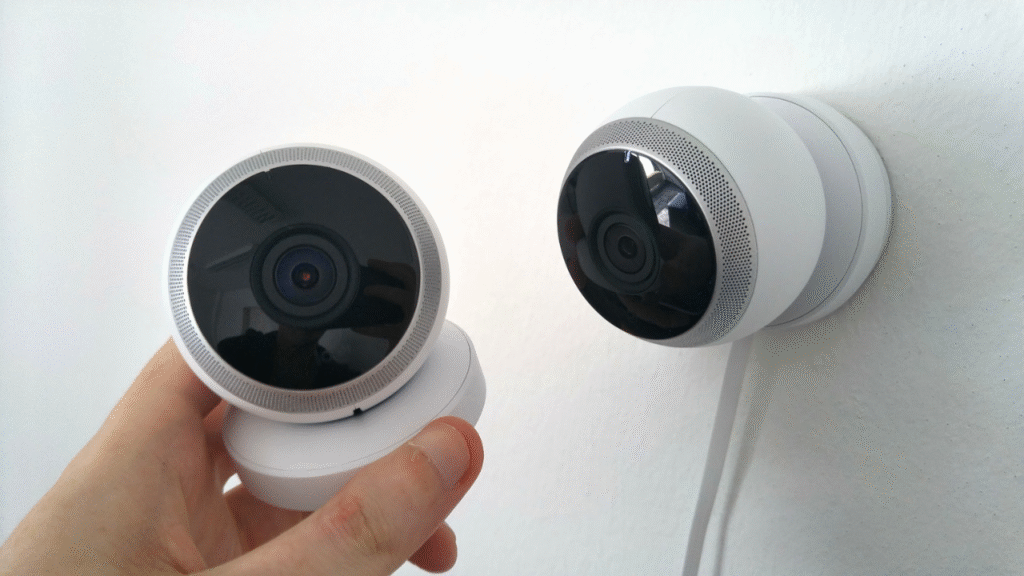
Step 3: Connect Smart Cameras
Smart cameras let you watch your home from anywhere. Start with these steps:
- Download the camera’s app (e.g., Ring, Arlo, Wyze)
- Create an account
- Plug in or mount your camera
- Follow app instructions to connect to Wi-Fi
- Name your camera (like “Front Door” or “Backyard”)
After setup, test live view and motion alerts. Adjust the view angle and motion zones.
Tips:
- Mount cameras at eye level or higher
- Use outdoor-rated cameras for outside
- Turn on night vision and notifications

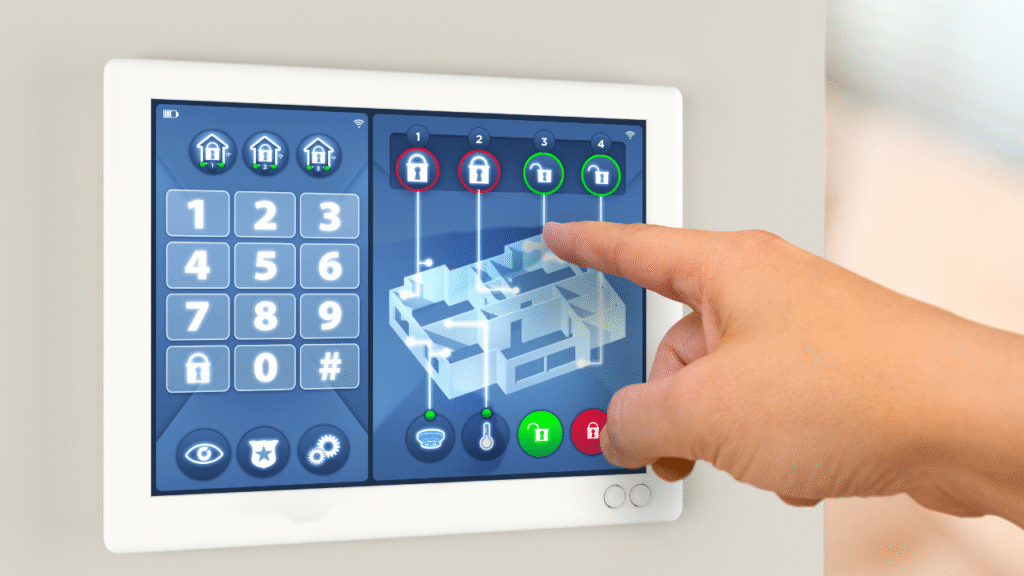
Step 4: Connect Smart Locks
Smart locks help you lock and unlock doors from your phone or with voice.
Here’s how to set one up:
- Pick a lock that works with your door (Yale, August, or Schlage are good brands)
- Install it using the guide—you may need a screwdriver
- Download the app and connect to Wi-Fi or Bluetooth
- Create codes for each user
- Link it with your smart hub or app
You can lock and unlock with voice, phone, or a set schedule.
Tips:
- Always test the lock after setup
- Use auto-lock if available
- Set alerts for when doors are unlocked
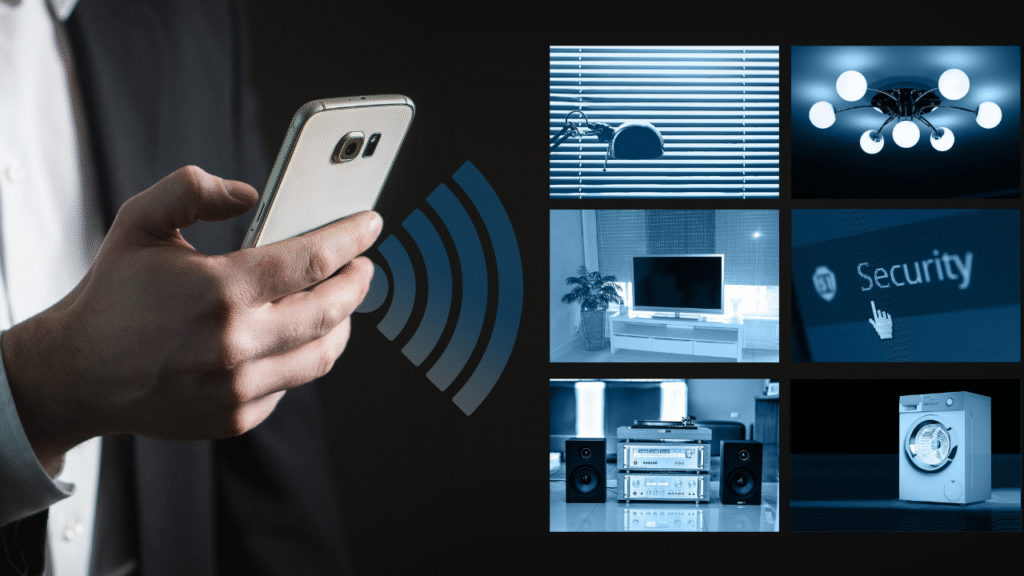
Step 5: Connect Smart Lights
Smart lights let you control brightness, color, and power with your phone or voice.
Start here:
- Pick your brand (like Philips Hue, TP-Link Kasa, or Sengled)
- Screw in the bulb or plug in the light
- Download the brand’s app
- Connect it to Wi-Fi or a hub
- Name your lights
Once added, you can group lights by room, set timers, or turn them on at sunset.
Tips:
- Use motion sensors for lights in hallways
- Use scenes (like “Movie Time” or “Goodnight”)
- Dimmable lights are great for bedrooms and living rooms
Step 6: Link Everything Together
Now it’s time to bring your devices under one roof.
Use your hub’s app:
- Alexa app: Go to Devices > Add Device. Pick your camera, lock, or light brand.
- Google Home app: Tap the “+” sign, then “Set up device.”
- Apple Home: Use the Home app. Add an accessory by scanning its code.
Once linked, you can say things like:
- “Alexa, turn on the front light.”
- “Hey Google, lock the back door.”
- “Siri, show me the front camera.”
Tips:
- Create groups like “Living Room” or “Downstairs”
- Set up “routines” or “automations” (e.g., lock doors at 10 PM, turn off lights)
Step 7: Add Schedules and Scenes
Make your smart home work for you with simple setups.
Schedules:
Set lights to turn on and off at set times. Lock doors every night at 9 PM.
Scenes:
Group actions together. For example:
- “Goodnight” turns off all lights and locks the door
- “Away” arms cameras and locks everything
- “Wake up” turns on lights and starts the coffee maker
These can be triggered by time, voice, or phone tap.
Step 8: Test and Adjust
Once everything is connected:
- Walk around your home
- Test each command
- Adjust camera angles
- Rename confusing device labels
- Add users for family members
Check your app’s activity log to see if everything is working.
Step 9: Stay Secure
Smart devices open up new risks. Keep them safe:
- Use strong passwords
- Turn on two-step login
- Update apps and device firmware
- Don’t share your Wi-Fi password with guests
- Check logs to see who used each device
Make sure your phone and hub are also secure.
Step 10: Add More Later
Once you’ve got the basics, you can grow your setup.
Add:
- Smart plugs for lamps or fans
- Smart sensors for windows and doors
- Video doorbells
- Smart thermostats
- Water leak detectors
Start small. Build only what you need. Don’t rush.
Conclusion
Connecting smart cameras, locks, and lights is easier than it seems. Start with a hub or app. Make sure your Wi-Fi is strong. Set up each device one by one. Group them in rooms. Create routines that match your life. A smart home doesn’t need to be complex. It should work for you—not confuse you. Once you get the hang of it, you’ll wonder how you lived without it.