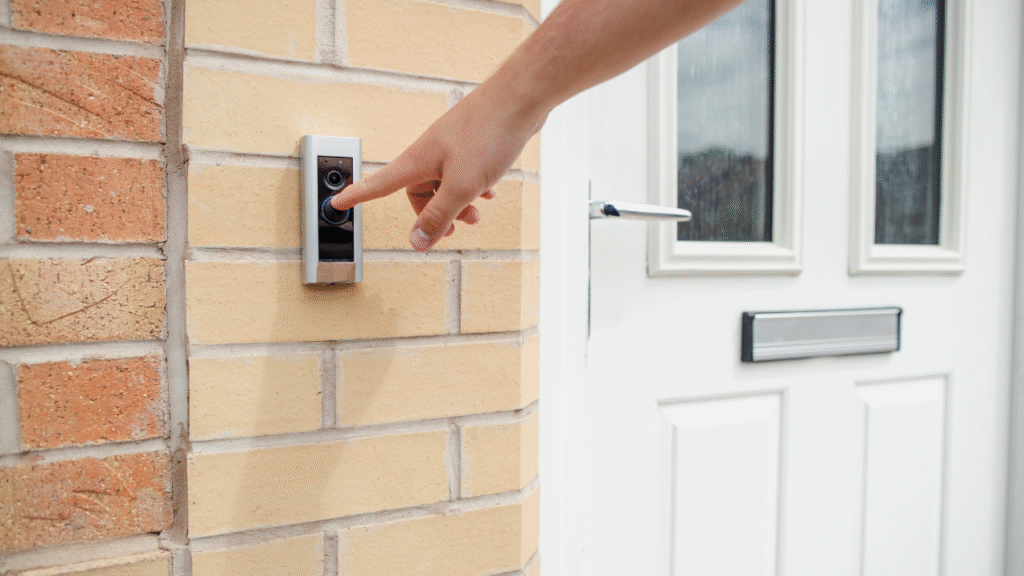
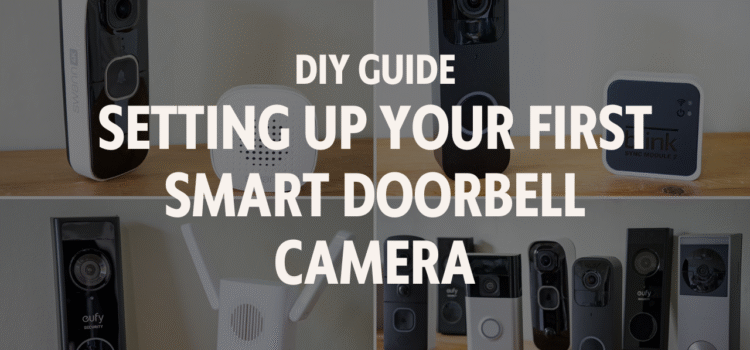
A smart doorbell camera lets you see who’s at your door, even when you’re not home. It adds peace of mind. You can talk to visitors, get alerts, and record video. This guide will walk you through setting it up yourself. No need to hire help. Just follow the steps, and you’ll be good to go.
Step 1: Pick the Right Smart Doorbell
Before you start, choose the right doorbell for your home. There are two main types:
- Battery-powered – Easy to install. No wiring needed. Just charge and mount it.
- Wired – Connects to your existing doorbell wiring. Offers constant power and fewer battery worries.
Look for features like:
- HD video
- Night vision
- Two-way talk
- Motion alerts
- Cloud or local video storage
- Mobile app support
Popular brands include Ring, Google Nest, Eufy, and Arlo. Make sure the one you choose works with your phone and home Wi-Fi.
Step 2: Charge It or Turn Off Power
If you picked a battery doorbell, charge it first. Use the USB cable that came in the box. This may take a few hours.
If you picked a wired doorbell, turn off power at the circuit breaker. This keeps you safe when working with wires.
Double-check the doorbell doesn’t ring after you flip the switch. Use a voltage tester if you’re unsure.
Step 3: Download the App
Each brand has its own app. Go to the App Store or Google Play and search for the one that matches your doorbell.
Some examples:
- Ring → Ring App
- Nest → Google Home
- Arlo → Arlo App
- Eufy → Eufy Security
Install the app and create an account. You’ll use the app to connect, control, and see video from your doorbell.
Step 4: Connect to Wi-Fi
Most doorbells won’t work until you connect them to your Wi-Fi.
- Open the app
- Tap “Add Device” or “Set Up New Doorbell”
- Scan the QR code on your doorbell or box
- Follow the steps on your screen
You’ll need your home Wi-Fi name and password. Choose the 2.4GHz band if your router has both 2.4GHz and 5GHz. Many doorbells don’t support 5GHz. Place your router near the door or use a Wi-Fi extender if the signal is weak.
Step 5: Mount the Smart Doorbell
Most smart doorbells come with a mounting kit. This includes a bracket, screws, wall anchors, and sometimes angle wedges.
For Battery Doorbells:
- Pick the right height. Mount it about 48 inches from the ground.
- Use the included guide to mark holes.
- Drill pilot holes if needed.
- Screw in the bracket.
- Snap the doorbell onto the bracket.
For Wired Doorbells:
- Unscrew and remove your old doorbell.
- Connect the two wires to the new doorbell. Doesn’t matter which one goes where.
- Attach the mounting bracket.
- Screw the doorbell into place.
- Restore power at the breaker.
Once the power is on, your doorbell should light up.

Step 6: Test the Video and Audio
Open the app and test your doorbell.
- Press the button to check the chime
- Walk in front of it to test motion alerts
- Try the two-way talk feature
- View the live feed to check video quality
If it doesn’t work well:
- Move your router closer
- Adjust the angle
- Turn on notifications in your phone settings
You can also set motion zones, so you’re not getting alerts for passing cars or trees.
Step 7: Set Your Alerts
Go to the app settings and pick how you want to get alerts.
- Push notifications
- Smart speaker announcements (if supported)
You can also:
- Set “do not disturb” times
- Turn off motion alerts during the day
- Get alerts only when people are detected
Some doorbells let you adjust sensitivity or add activity zones. This helps cut down on false alarms.
Step 8: Set Up Storage
Most brands offer two choices for video storage:
- Cloud storage – Stores videos online for a monthly fee. You can access them from anywhere.
- Local storage – Saves videos to a memory card or base station in your home.
Pick the one that works best for you. Some brands offer free local storage, while others need a paid plan for video history.
Step 9: Connect to Other Smart Devices
Smart doorbells often work with other devices.
- Connect to Alexa or Google Assistant to see who’s at the door
- Link with smart locks to let visitors in
- Set up routines (like turning on lights when motion is detected)
Check the app for integrations. You may need to use a hub or enable a skill in your voice assistant’s app.
Step 10: Secure Your Device
Smart doorbells are useful, but they need to be secure.
- Use a strong password
- Turn on two-factor login
- Keep your app and firmware updated
- Use a secure Wi-Fi network
If you move or get a new router, update your settings. Always remove the device from your account if you stop using it.
Common Issues and Fixes
Problem: Video feed is slow or blurry
Fix: Improve Wi-Fi strength, restart your router, or lower video resolution in settings.
Problem: Not getting alerts
Fix: Check app settings, phone notifications, and motion zones.
Problem: Doorbell won’t turn on
Fix: Charge battery, check power at breaker, or make sure wires are connected.
Problem: Can’t hear visitors
Fix: Test your speaker in the app. Adjust volume settings.
Conclusion
Setting up a smart doorbell is easy with the right steps. You don’t need to be a tech expert. Just follow the instructions, and you’ll have better safety and peace of mind. Start with picking the right device. Follow each step from charging or wiring to mounting and testing. Connect it to Wi-Fi, set your alerts, and secure your account. With your new smart doorbell, you can see who’s outside anytime. Whether you’re upstairs or across town, you’re always in control.


