


You don’t need to hire someone to protect your home. Today’s smart security systems are made for easy setup. You can install them yourself in under an hour. Just follow the steps, and you’re done.
Step 1: Choose the Right Smart System
Start by picking a system that matches your home and needs.
Think about:
- How many doors and windows need sensors?
- Do you want indoor or outdoor cameras?
- Do you want extras like doorbells, smoke alarms, or smart locks?
Popular brands include:
- SimpliSafe
- Ring Alarm
- Wyze
- Arlo
- Blink
- Eufy
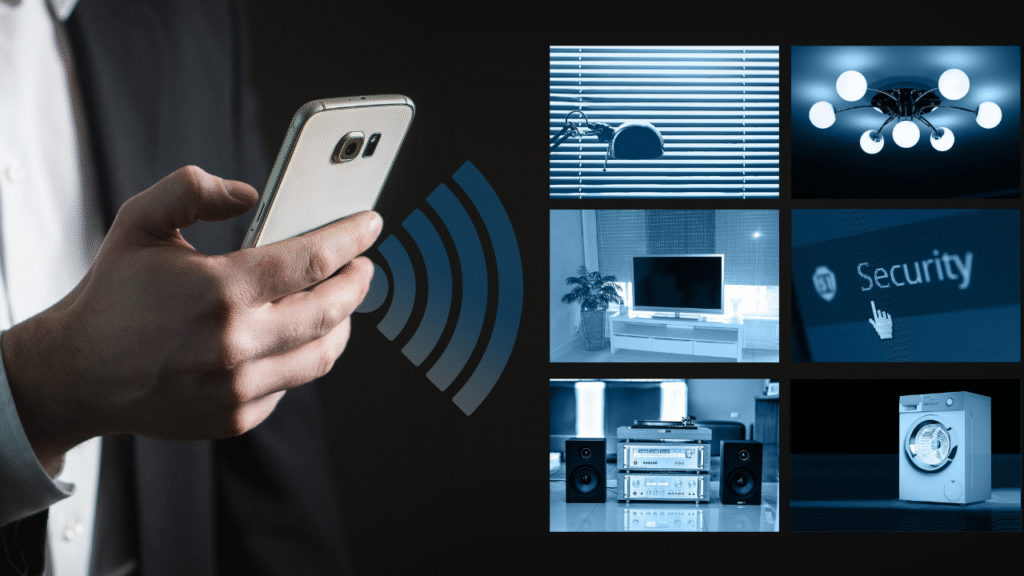
Look for a system that offers an app. That way, you can check and control everything from your phone.
Step 2: Unbox and Check Your Smart Devices
When the box arrives, open it and lay everything out.
Make sure you have:
- Base station or hub
- Keypad (if included)
- Entry sensors (for doors and windows)
- Motion sensors
- Cables or batteries
- Camera(s) if your system includes them
- Setup guide or QR code
Check that nothing is missing or broken before you start.
Step 3: Download the App

Most smart security systems need their own app. Search for the brand name in your app store. Download the app and create an account. The app will guide you through the full setup. It often uses pictures and steps that are easy to follow. Have your Wi-Fi name and password ready.
Step 4: Set Up the Base Station
The base station is the brain of your system. It connects to all the other parts.
To set it up:
- Plug it into a power outlet
- Connect it to your Wi-Fi (or let it use its built-in cellular if available)
- Let it update, if needed
- Name it in the app (something like “Home Base”)
Place the base station in a central location. It should be near a power outlet and away from metal or thick walls.
Step 5: Add Entry Sensors
Entry sensors go on doors and windows. They come in two parts: one goes on the frame, the other on the door or window itself.
Follow these steps:
- Clean the surface with a dry cloth
- Stick the sensor and magnet where the two parts line up
- Make sure they’re no more than half an inch apart
- Press them into place
- Open and close the door to test
Use the app to name each sensor. Examples: “Front Door,” “Back Window,” “Garage Door.” This helps when alerts come in.
Step 6: Install Motion Sensors
Motion sensors detect movement inside your home.
To install them:
- Place them 6–8 feet above the ground
- Aim them at main walkways or rooms
- Avoid pointing at windows or heat sources
- Use the sticky pads or screws provided
Motion sensors are great for living rooms, hallways, and staircases.
Again, name each sensor in the app.
Step 7: Set Up Smart Cameras
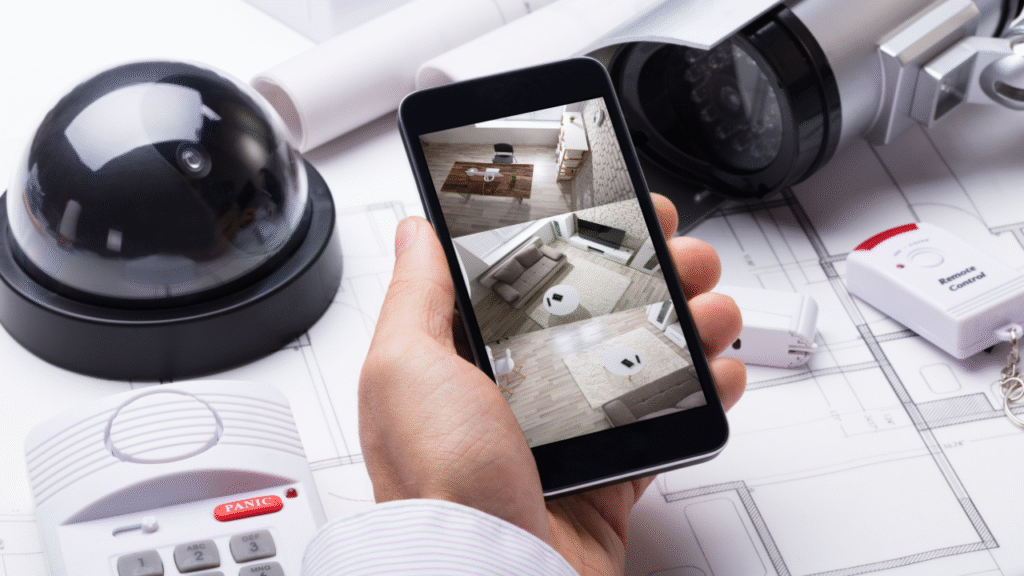
Cameras let you see what’s going on. Many are wireless and plug into the wall.
To install:
- Choose a spot that shows the whole area
- Plug it in or charge the battery
- Use the app to connect it to Wi-Fi
- Mount it using the provided hardware or adhesive
- Adjust the angle for best view
For outdoor cameras, pick weatherproof models. Keep them under a roof if possible.
Don’t forget to turn on motion detection and alerts in the app.
Step 8: Place the Keypad (If You Have One)
Some systems come with a keypad for arming and disarming. Place it near your main entry door.
To install:
- Use the wall mount or adhesive
- Plug it in or insert batteries
- Pair it with your system using the app
Create a PIN code that’s easy to remember but hard to guess. You can also create extra PINs for family members.
Step 9: Add Extra Smart Devices
Now add any extras:
- Doorbell cameras: Mount near your front door
- Glass break sensors: Place near windows
- Smoke or CO detectors: Mount on the ceiling
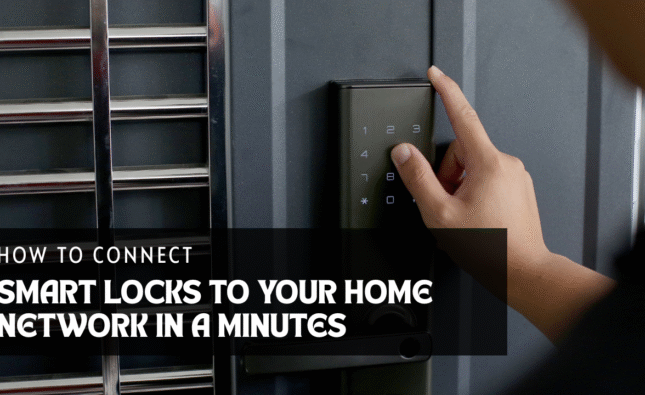
- Smart locks: Replace your old locks and pair them in the app
- Panic buttons: Keep near beds or under desks
Each device will have its own steps. Most follow the same pattern: plug in, connect in the app, test.
Step 10: Test Your Whole Smart System
Walk through your home and test each part.
- Open doors and windows to check sensors
- Walk in front of motion sensors
- View each camera’s feed
- Use the keypad to arm and disarm
- Trigger the siren (if safe to do so)
Fix anything that’s not working. Double-check signal strength if devices are far from the base.
Step 11: Set Notifications and Schedules
Go into your app settings. Set alerts for:
- Motion
- Door openings
- Low battery
- System arm/disarm
You can also set schedules. For example:
- Arm the system at 10 PM
- Disarm at 6 AM on weekdays
Some systems let you use location tracking to arm when you leave home.
Step 12: Share Access with Family
Give access to your partner or kids through the app.
They can:
- Use their phones to arm and disarm
- Get alerts
- View cameras
- Use their own PINs
Most apps let you limit what each user can do
Step 13: Stay Updated and Secure

Keep your system safe by:
- Updating the app
- Updating device firmware
- Using strong passwords
- Turning on two-factor login
- Locking your phone
Check your system weekly to make sure all parts work. Replace batteries as needed.
Conclusion
You don’t need a pro to set up home security. Smart systems are made for easy, no-hassle setup. Follow the steps: start with the base station, add sensors, cameras, and locks, then test it all. Set alerts and share access with family. You’ll save money and have peace of mind, all without calling a technician. Once it’s set up, your home is safer—and you’re in full control.